How To Build An Automated Invoice System In Excel With Formulas
How To Build An Automated Invoice System In Excel With Formulas - There are a lot of affordable templates out there, but it can be easy to feel like a lot of the best cost a amount of money, require best special design template. Making the best template format choice is way to your template success. And if at this time you are looking for information and ideas regarding the How To Build An Automated Invoice System In Excel With Formulas then, you are in the perfect place. Get this How To Build An Automated Invoice System In Excel With Formulas for free here. We hope this post How To Build An Automated Invoice System In Excel With Formulas inspired you and help you what you are looking for.
“`html
Building an Automated Invoice System in Excel
Creating invoices manually can be time-consuming and prone to errors. Excel, with its robust formula capabilities, offers a convenient way to automate the invoice generation process. This guide will walk you through building a functional invoice system using Excel formulas.
Setting up the Invoice Template
First, design your invoice template. Consider these elements:
- Company Information: Your company name, address, contact details, and logo (optional).
- Client Information: Fields for the client’s name, address, and contact details.
- Invoice Number: A unique identifier for each invoice.
- Invoice Date: The date the invoice was issued.
- Due Date: The date by which the payment is expected.
- Line Items: A table to list the products or services provided, including description, quantity, unit price, and total price.
- Subtotal: The sum of all line item totals.
- Tax: The applicable tax amount.
- Total: The final amount due, including tax.
- Payment Terms: Instructions on how the client can pay.
- Notes: Any additional information or instructions.
Organize these elements logically within your Excel sheet. Use different cells for each piece of information for easy reference in formulas.
Key Formulas and Functionality
1. Invoice Number Generation
To automatically generate invoice numbers, use the following formula (assuming the invoice number starts at 1 and increments sequentially):
=MAX(Invoice_Number_Column)+1
Replace “Invoice_Number_Column” with the actual range of cells containing existing invoice numbers. For example, if invoice numbers are stored in column A, starting from cell A2 (A1 being the header), the formula would be:
=MAX(A2:A1000)+1
This formula finds the highest invoice number in the specified range and adds 1 to it. You can store this formula in a dedicated cell and display it on the invoice. Alternatively, to prevent recalculation every time the sheet updates, consider using VBA (see section below).
2. Invoice Date and Due Date
For the invoice date, use the TODAY() function:
=TODAY()
This will display the current date. To set the due date (e.g., 30 days after the invoice date), use the following formula:
=Invoice_Date_Cell + 30
Replace “Invoice_Date_Cell” with the cell containing the invoice date. For example, if the invoice date is in cell B2, the formula would be:
=B2+30
You can adjust the number ’30’ to reflect your desired payment terms.
3. Line Item Calculations
In your line item table, you’ll need formulas to calculate the total price for each item. Assuming the quantity is in column C and the unit price is in column D, the total price in column E would be:
=C2*D2
Copy this formula down the column to calculate the total price for all line items. Consider using named ranges (e.g., `Quantity`, `UnitPrice`) to improve readability and maintainability.
4. Subtotal, Tax, and Total
To calculate the subtotal, use the SUM() function on the total price column:
=SUM(Total_Price_Column)
Replace “Total_Price_Column” with the range containing the total prices of each line item. For example, if the total prices are in column E, starting from cell E2, the formula would be:
=SUM(E2:E100)
To calculate the tax amount (assuming a fixed tax rate of, say, 7%), use the following formula:
=Subtotal_Cell * 0.07
Replace “Subtotal_Cell” with the cell containing the subtotal. For example, if the subtotal is in cell F2, the formula would be:
=F2*0.07
Finally, to calculate the total amount due, add the subtotal and the tax:
=Subtotal_Cell + Tax_Cell
Replace “Subtotal_Cell” and “Tax_Cell” with the corresponding cell references.
5. Formatting and Validation
Formatting: Apply appropriate formatting to your cells. Use currency formatting for prices, date formatting for dates, and number formatting for quantities. Consider using conditional formatting to highlight overdue invoices.
Data Validation: Use data validation to ensure data integrity. For example, you can create a dropdown list of predefined products or services for the description column. To do this, select the cells in the description column, go to Data > Data Validation, choose “List” from the “Allow” dropdown, and enter your list of items (separated by commas) in the “Source” field.
Using Excel Tables
Converting your line item area into an Excel Table (Insert > Table) offers several advantages:
- Automatic Expansion: As you add new rows to the table, the formulas automatically adjust to include the new data.
- Structured References: Instead of using cell references (e.g., E2:E100), you can use structured references (e.g., `Table1[Total Price]`), making formulas more readable and less prone to errors.
- Total Row: Excel Tables have a built-in Total Row that can automatically calculate the sum of a column.
If you are using an Excel Table named “InvoiceItems” and the total price is in the “Total” column, your subtotal formula would become:
=SUM(InvoiceItems[Total])
Adding Client Information
You can maintain a separate sheet with client details (name, address, contact information). Then, use the VLOOKUP function to automatically populate the client information on the invoice based on a client ID or name selected from a dropdown list.
Assuming your client data is on a sheet named “Clients”, with client ID in column A, name in column B, and address in column C, and you want to populate the client name in cell B4 on the invoice based on the client ID selected in cell A4, the formula in cell B4 would be:
=VLOOKUP(A4,Clients!A:C,2,FALSE)
This formula searches for the value in A4 (the client ID) in the first column of the “Clients” sheet (A:C), and returns the corresponding value from the second column (the client name). The `FALSE` argument ensures an exact match.
VBA for Automation (Optional)
While formulas provide much of the functionality, VBA (Visual Basic for Applications) can be used for more advanced automation, such as:
- Generating Unique Invoice Numbers: VBA can ensure that invoice numbers are truly unique and prevent accidental overwrites. You can use VBA to check if an invoice number already exists before assigning it.
- Saving Invoices as PDFs: VBA can automate the process of saving each invoice as a PDF file with a descriptive filename.
- Sending Invoices via Email: VBA can integrate with Outlook or other email clients to automatically send invoices to clients.
For example, to prevent recalculation of the invoice number with every sheet update, you could use the following VBA code in the `Worksheet_Change` event:
Private Sub Worksheet_Change(ByVal Target As Range) If Not Intersect(Target, Range("A1")) Is Nothing Then 'Change A1 to your trigger cell Application.EnableEvents = False Range("B1").Value = Range("B1").Value + 1 'Change B1 to your invoice number cell Application.EnableEvents = True End If End Sub
Conclusion
By combining Excel formulas and tables, you can create a powerful and efficient automated invoice system. Remember to test your formulas thoroughly to ensure accuracy. Consider adding VBA for more advanced features and automation to further streamline your invoicing process. Remember to save your Excel file as a macro-enabled workbook (.xlsm) if you are using VBA code.
“`
 600×315 automated invoice excel easy steps from www.excel-easy.com
  946×1086 automated excel invoice template adnia solutions from adniasolutions.com
  604×761 automated invoice excel step step tutorial from www.excel-easy.com
 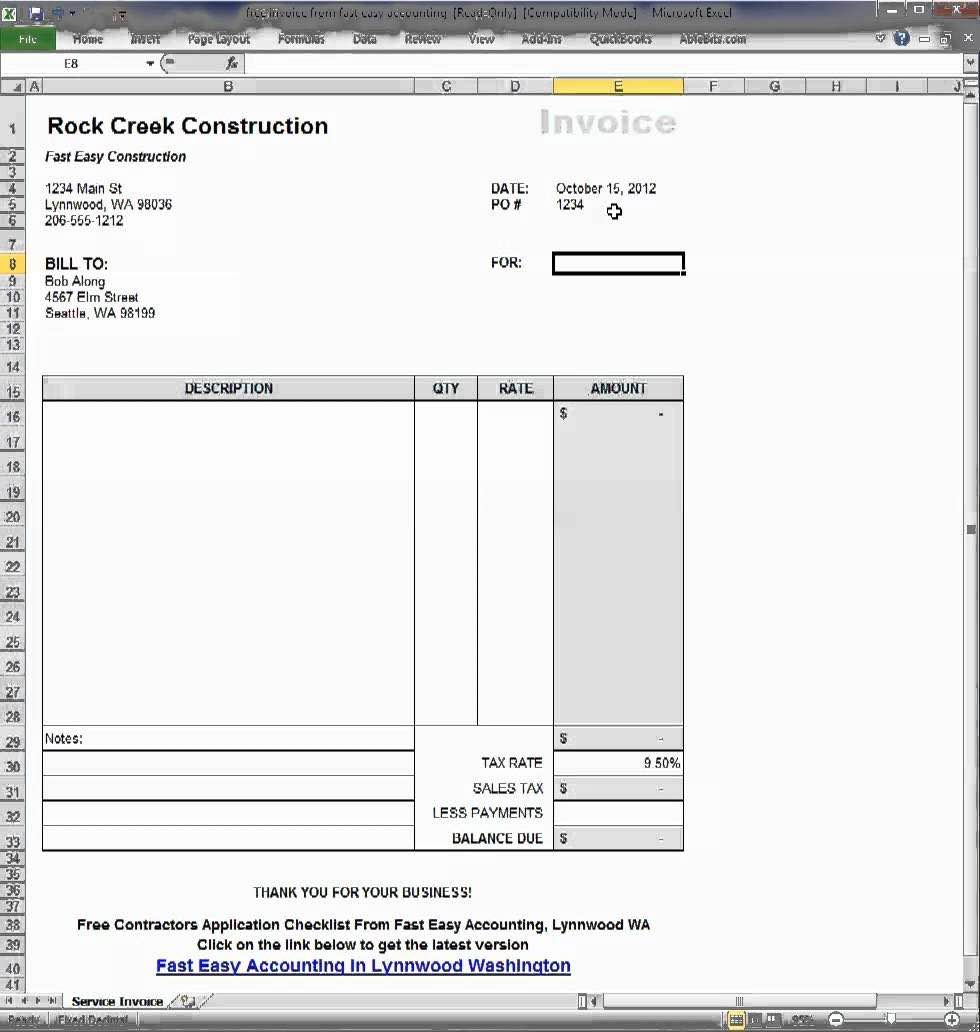 474×499 spreadsheet automation create invoices excel spreadsheet from db-excel.com
 How To Build An Automated Invoice System In Excel With Formulas was posted in September 3, 2025 at 6:43 am. If you wanna have it as yours, please click the Pictures and you will go to click right mouse then Save Image As and Click Save and download the How To Build An Automated Invoice System In Excel With Formulas Picture.. Don’t forget to share this picture with others via Facebook, Twitter, Pinterest or other social medias! we do hope you'll get inspired by ExcelKayra... Thanks again! If you have any DMCA issues on this post, please contact us!
Related For How To Build An Automated Invoice System In Excel With Formulas
Auto Repair Receipt
An auto repair receipt is a detailed invoice that