How To Create An Automated Billing Template In Excel
How To Create An Automated Billing Template In Excel - There are a lot of affordable templates out there, but it can be easy to feel like a lot of the best cost a amount of money, require best special design template. Making the best template format choice is way to your template success. And if at this time you are looking for information and ideas regarding the How To Create An Automated Billing Template In Excel then, you are in the perfect place. Get this How To Create An Automated Billing Template In Excel for free here. We hope this post How To Create An Automated Billing Template In Excel inspired you and help you what you are looking for.
“`html
Creating an Automated Billing Template in Excel
Automating your billing process can save you significant time and reduce errors. Excel, despite not being specialized accounting software, can be configured into a powerful and efficient billing template, especially for small businesses or freelancers. This guide will walk you through creating an automated billing template in Excel, step-by-step.
1. Setting Up the Invoice Structure
First, design the basic layout of your invoice. Consider these key elements:
- Company Information: Your company name, address, contact details, and logo.
- Client Information: Client’s name, address, contact details.
- Invoice Number: A unique identifier for each invoice.
- Invoice Date: The date the invoice is issued.
- Due Date: The date the payment is due.
- Description of Services/Products: A clear description of what you are billing for.
- Quantity: The number of units or hours being billed.
- Unit Price: The price per unit or hour.
- Subtotal: The total amount before taxes and discounts.
- Discounts (if applicable): Any discounts applied to the subtotal.
- Taxes (if applicable): Sales tax or VAT.
- Total Amount Due: The final amount the client owes.
- Payment Instructions: How the client can pay (e.g., bank transfer details, PayPal link).
- Notes/Terms: Any additional information, such as late payment fees or terms of service.
Arrange these elements logically on your Excel sheet. Use formatting (borders, colors, fonts) to make the invoice visually appealing and easy to read. For example, place your company information at the top, client information below it, and the billing items in a table format in the middle.
2. Implementing Formulas for Calculations
This is where the automation begins. Use Excel formulas to calculate amounts automatically.
- Subtotal: In the column next to the Unit Price and Quantity, create a “Total” column. In the first cell of this column, enter the formula:
=Quantity_Cell*Unit_Price_Cell. ReplaceQuantity_CellandUnit_Price_Cellwith the actual cell references (e.g.,=C5*D5). Drag this formula down to apply it to all the rows in your billing items table. - Subtotal Amount: At the bottom of the billing items table, use the
SUMfunction to calculate the subtotal:=SUM(Total_Column). ReplaceTotal_Columnwith the range of cells in your “Total” column (e.g.,=SUM(E5:E15). - Discounts: If you offer discounts, create a cell for the discount percentage. Then, create a cell to calculate the discount amount:
=Subtotal_Cell*Discount_Percentage_Cell. ReplaceSubtotal_CellandDiscount_Percentage_Cellwith the corresponding cell references. - Taxes: Similarly, create a cell for the tax rate. Calculate the tax amount:
=(Subtotal_Cell-Discount_Amount_Cell)*Tax_Rate_Cell. Replace the cell references accordingly. If no discount, simply use=Subtotal_Cell*Tax_Rate_Cell - Total Amount Due: Finally, calculate the total amount due:
=Subtotal_Cell-Discount_Amount_Cell+Tax_Amount_Cell. Replace the cell references. If no discount/taxes adjust accordingly, for example,=Subtotal_Cell.
Example:
| Description | Quantity | Unit Price | Total |
|---|---|---|---|
| Consulting Services | 10 | $100 | =B2*C2 |
| Project Management | 5 | $80 | =B3*C3 |
| Subtotal | =SUM(D2:D3) |
||
| Discount (10%) | =D4*0.1 |
||
| Tax (5%) | =(D4-D5)*0.05 |
||
| Total Amount Due | =D4-D5+D6 |
||
3. Using Data Validation for Drop-Down Menus
Data validation can create drop-down menus for selecting items or clients, making data entry easier and more consistent.
- Client Selection: Create a separate sheet with a list of your clients (Client Name, Address, Contact Details). Select the cell where you want the client name to appear on the invoice. Go to the “Data” tab and click “Data Validation.” In the “Settings” tab, choose “List” from the “Allow” dropdown. In the “Source” field, enter the range of cells containing your client names (e.g.,
Sheet2!$A$1:$A$10). Now you’ll have a drop-down menu to select clients. - Item Selection: You can do the same for your frequently billed services or products. Create a sheet with a list of your items (Description, Unit Price). Use data validation to create a drop-down menu for the description. Use the
VLOOKUPfunction to automatically populate the unit price based on the selected description.
Example using VLOOKUP for Item Selection:
Assume you have a sheet named “Items” with the following data:
| Description | Unit Price |
|---|---|
| Consulting Services | 100 |
| Project Management | 80 |
In your invoice sheet, let’s say cell A2 has the data validation dropdown for item description. In cell C2 (Unit Price), enter the following formula:
=VLOOKUP(A2,Items!$A$1:$B$2,2,FALSE)
This formula looks up the value in cell A2 (the selected item description) in the range A1:B2 on the “Items” sheet, and returns the value from the second column (Unit Price). The FALSE argument ensures an exact match.
4. Automating Invoice Numbers
Keeping track of invoice numbers is crucial. You can automate this using formulas.
- Simple Sequential Numbers: If you just want a simple incrementing number, you can start with a base number in a cell (e.g., 1000). In the invoice number cell, enter the formula
=Base_Number_Cell+1. Each time you create a new invoice, manually increment the base number cell. A better method is described below. - Using the ROW Function: Use the
ROWfunction to generate sequential numbers. For example,=ROW()-1will generate 1, 2, 3, etc. However, this might not be suitable if you delete rows. - A More Robust Solution with a Helper Sheet: Create a hidden sheet called “Settings”. In cell A1, store the last used invoice number. In your invoice sheet, use the following formula:
=Settings!A1+1. After creating a new invoice, copy the value from the invoice number cell and paste it as “Values Only” into the Settings!A1 cell. This will update the last used invoice number. This method is more reliable.
5. Conditional Formatting (Optional)
Conditional formatting can highlight overdue invoices or important information.
- Overdue Invoices: Select the “Due Date” cell. Go to the “Home” tab and click “Conditional Formatting.” Choose “New Rule.” Select “Use a formula to determine which cells to format.” Enter the formula:
=Due_Date_CellDue_Date_Cellwith the actual cell reference. Click "Format" and choose a fill color (e.g., red) to highlight overdue invoices.
6. Protecting Your Template
To prevent accidental changes to your formulas and layout, protect your sheet.
- Go to the "Review" tab and click "Protect Sheet." Choose the elements you want to allow users to change (e.g., "Select unlocked cells"). Enter a password (optional).
- Before protecting the sheet, unlock the cells where you want users to enter data (e.g., client information, quantities, unit prices). To do this, select the cells, right-click, choose "Format Cells," go to the "Protection" tab, and uncheck "Locked."
7. Saving Your Template
Save your Excel file as a template (.xltx) so you can easily create new invoices without modifying the original template.
- Go to "File" -> "Save As." Choose "Excel Template (*.xltx)" from the "Save as type" dropdown.
Conclusion
By following these steps, you can create a functional and automated billing template in Excel. Remember to customize the template to fit your specific needs and regularly back up your files. This automated system will save you time, reduce errors, and help you manage your billing process more efficiently.
```
 600×521 excel billing spreadsheet excelxocom from excelxo.com
  793×1124 billing spreadsheet billing spreadsheet template excel based from db-excel.com
  910×540 excel billing invoice template xls excel templates exceltemple from www.exceltemple.com
  594×437 billing statement excel template exceldatapro from exceldatapro.com
  751×970 billing spreadsheet template db excelcom from db-excel.com
  740×816 automated excel invoice template adnia solutions from adniasolutions.com
 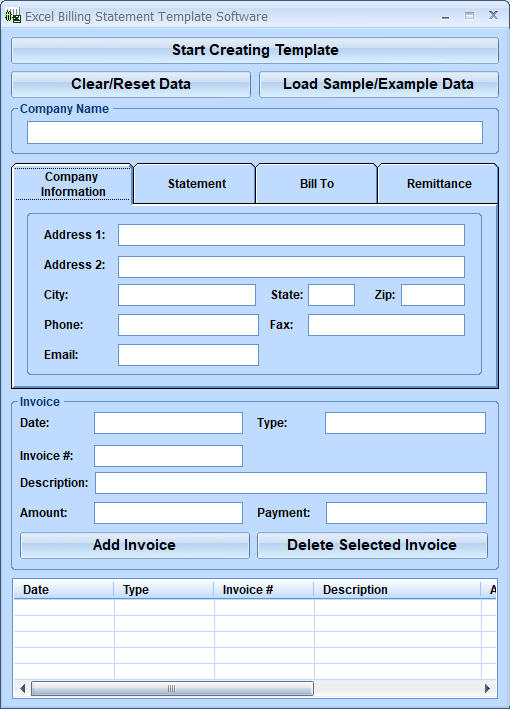 510×709 excel billing statement template software from sobolsoft.com
 How To Create An Automated Billing Template In Excel was posted in November 18, 2025 at 2:07 am. If you wanna have it as yours, please click the Pictures and you will go to click right mouse then Save Image As and Click Save and download the How To Create An Automated Billing Template In Excel Picture.. Don’t forget to share this picture with others via Facebook, Twitter, Pinterest or other social medias! we do hope you'll get inspired by ExcelKayra... Thanks again! If you have any DMCA issues on this post, please contact us!