How To Build Inventory Database In Excel From Scratch
How To Build Inventory Database In Excel From Scratch - There are a lot of affordable templates out there, but it can be easy to feel like a lot of the best cost a amount of money, require best special design template. Making the best template format choice is way to your template success. And if at this time you are looking for information and ideas regarding the How To Build Inventory Database In Excel From Scratch then, you are in the perfect place. Get this How To Build Inventory Database In Excel From Scratch for free here. We hope this post How To Build Inventory Database In Excel From Scratch inspired you and help you what you are looking for.
“`html
Building an Inventory Database in Excel: A Step-by-Step Guide
Managing inventory effectively is crucial for any business, regardless of size. While dedicated inventory management software offers robust features, Excel provides a cost-effective and readily accessible solution, especially for startups and small to medium-sized enterprises. This guide outlines the process of creating a comprehensive inventory database in Excel from scratch.
1. Planning Your Database Structure
Before diving into Excel, it’s essential to plan the structure of your database. Consider the key information you need to track for each item. A well-defined structure ensures data consistency and simplifies reporting.
Here are some common fields to include:
- Item ID (SKU): A unique identifier for each item. Use a consistent naming convention (e.g., ABC-123)
- Item Name/Description: A clear and descriptive name of the product.
- Category: Grouping items into categories (e.g., Electronics, Clothing, Food).
- Supplier: The vendor from whom you purchase the item.
- Purchase Price: The cost of acquiring each unit.
- Selling Price: The price at which you sell each unit.
- Quantity on Hand: The current stock level.
- Reorder Point: The stock level at which you need to reorder.
- Reorder Quantity: The amount you should reorder to replenish stock.
- Unit of Measure: The unit in which you measure the item (e.g., pieces, kilograms, liters).
- Location: Where the item is physically stored (e.g., Warehouse A, Shelf 3).
- Date Received: The date the item was received into inventory.
- Expiry Date (if applicable): The date the item expires.
Customize this list based on your specific business needs. For example, you might add fields for product dimensions, weight, or warranty information.
2. Setting Up the Excel Worksheet
Now that you have your database structure, it’s time to create the Excel worksheet:
- Open a New Excel Workbook: Start with a blank canvas.
- Name Your Worksheet: Rename the default sheet (e.g., “Inventory Data”) for easy identification.
- Create Column Headers: In the first row of the worksheet, enter the field names you defined in the planning stage. Ensure each column represents a specific data point (Item ID, Item Name, Quantity on Hand, etc.).
- Format Column Headers: Make the headers visually distinct (e.g., bold, different font color) for better readability. You can also use “Wrap Text” to display long headers on multiple lines.
- Adjust Column Widths: Resize columns to accommodate the data that will be entered. Double-clicking the right edge of a column header automatically adjusts the width to fit the widest entry.
- Freeze Top Row: Freeze the first row (containing the column headers) so it remains visible even when scrolling down through a large dataset. Go to “View” tab -> “Freeze Panes” -> “Freeze Top Row”.
3. Entering Initial Inventory Data
Populate your spreadsheet with existing inventory data. Accuracy is paramount at this stage. Double-check all entries to avoid errors that could propagate throughout your database.
- Consistency is Key: Use consistent formatting for dates, numbers, and text.
- Use Data Validation: For fields with predefined options (e.g., Category, Supplier), use data validation to create dropdown lists. This ensures data consistency and reduces errors. To use data validation:
- Select the cells where you want the dropdown list.
- Go to the “Data” tab -> “Data Validation”.
- In the “Settings” tab, choose “List” from the “Allow” dropdown.
- In the “Source” field, enter the list of options separated by commas (e.g., Electronics,Clothing,Food) or refer to a range of cells containing the list.
- Format as Table: Convert your data range into an Excel table. This provides several benefits, including automatic formatting, filtering, and sorting. Select the data range (including headers) and go to “Insert” tab -> “Table”. Make sure “My table has headers” is checked.
4. Maintaining and Updating Your Inventory Database
An inventory database is not a static entity. It requires regular maintenance and updates to reflect changes in stock levels, pricing, and other relevant information.
- Regular Stock Counts: Conduct physical stock counts regularly to compare with your database and identify discrepancies.
- Record Transactions: Document all incoming and outgoing stock (e.g., purchases, sales, returns). Create separate worksheets for recording these transactions (e.g., “Purchase Orders,” “Sales Invoices”).
- Automate Calculations: Use formulas to automate calculations such as:
- Quantity on Hand: `=Initial Quantity + SUM(Incoming) – SUM(Outgoing)` (adjust based on your specific transaction worksheets)
- Total Value of Inventory: `=SUMPRODUCT(Quantity on Hand Range, Purchase Price Range)`
- Use Conditional Formatting: Highlight items that are running low or have reached their reorder point using conditional formatting. Select the “Quantity on Hand” column, go to “Home” tab -> “Conditional Formatting”, and create rules based on your reorder point. For example, highlight cells less than or equal to the Reorder Point.
5. Analyzing Your Inventory Data
Once your database is populated, you can leverage Excel’s features to analyze your inventory data and gain valuable insights.
- Filtering and Sorting: Use filters and sorting to analyze inventory by category, supplier, location, or any other relevant field.
- Pivot Tables: Create pivot tables to summarize data and identify trends. For example, you can create a pivot table to see the total value of inventory by category or the sales performance of different products.
- Charts and Graphs: Visualize your data using charts and graphs to identify trends and patterns more easily. Create charts showing inventory levels over time, sales by product category, or the value of inventory by location.
6. Backing Up Your Data
Regularly back up your Excel file to prevent data loss due to hardware failures or accidental deletions. Use cloud storage services or external hard drives for backup purposes.
Conclusion
Building an inventory database in Excel is a straightforward process that can significantly improve your inventory management practices. By following these steps, you can create a customized and effective system for tracking your inventory, optimizing stock levels, and making informed business decisions.
“`
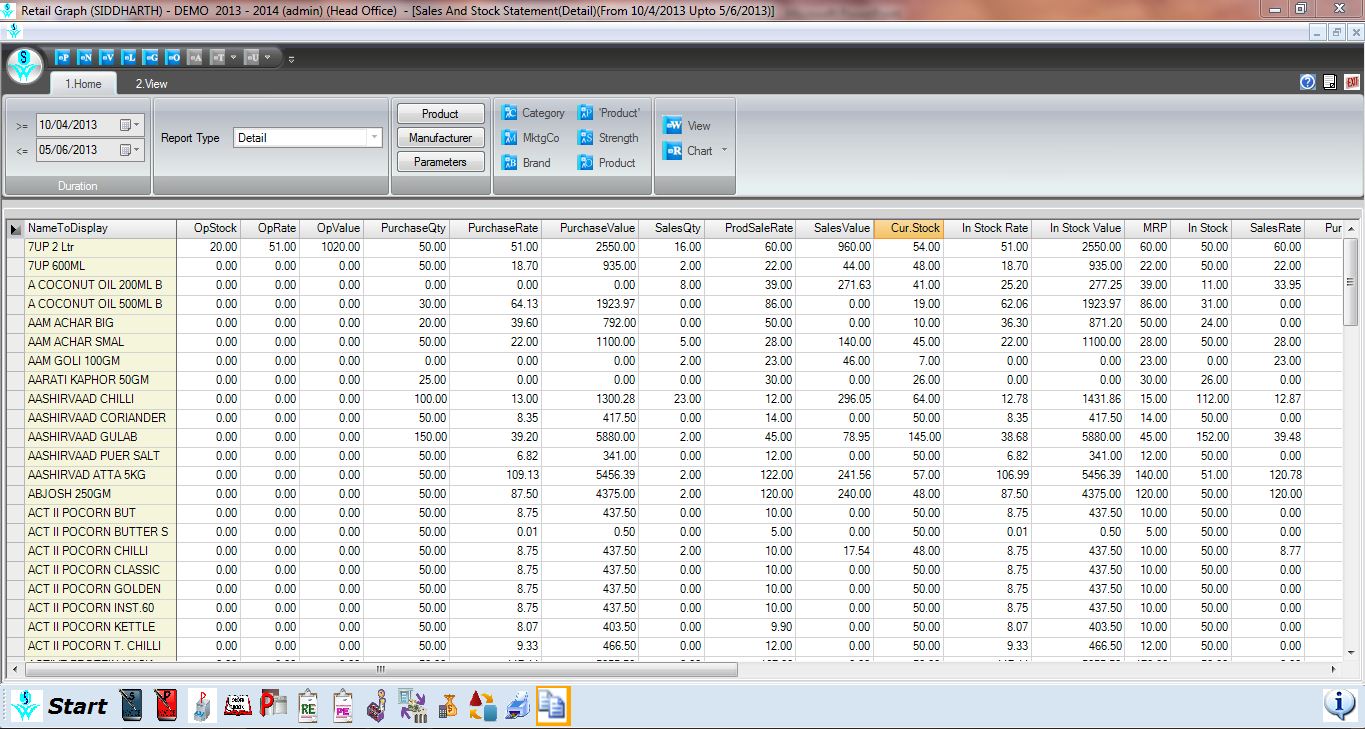 1365×729 inventory spreadsheet db excelcom from db-excel.com
  1255×970 create inventory spreadsheet excel from db-excel.com
  1280×720 inventory spreadsheet excel spreadsheet downloa from db-excel.com
 How To Build Inventory Database In Excel From Scratch was posted in December 4, 2025 at 3:46 am. If you wanna have it as yours, please click the Pictures and you will go to click right mouse then Save Image As and Click Save and download the How To Build Inventory Database In Excel From Scratch Picture.. Don’t forget to share this picture with others via Facebook, Twitter, Pinterest or other social medias! we do hope you'll get inspired by ExcelKayra... Thanks again! If you have any DMCA issues on this post, please contact us!