How To Make A Calendar In Excel With Recurring Events
How To Make A Calendar In Excel With Recurring Events - There are a lot of affordable templates out there, but it can be easy to feel like a lot of the best cost a amount of money, require best special design template. Making the best template format choice is way to your template success. And if at this time you are looking for information and ideas regarding the How To Make A Calendar In Excel With Recurring Events then, you are in the perfect place. Get this How To Make A Calendar In Excel With Recurring Events for free here. We hope this post How To Make A Calendar In Excel With Recurring Events inspired you and help you what you are looking for.
“`html
Creating a Dynamic Calendar with Recurring Events in Excel
Excel’s capabilities extend far beyond simple spreadsheets. You can leverage its power to create a functional and visually appealing calendar, complete with recurring events. This guide will walk you through building such a calendar, making it easy to track appointments, deadlines, and other important occasions.
Setting Up the Basic Calendar Structure
First, we need to establish the foundation of our calendar. This involves creating the headers for the days of the week and setting up the date range.
- Open a new Excel workbook.
- Enter the day names: In cells A1 through G1, type “Sunday”, “Monday”, “Tuesday”, “Wednesday”, “Thursday”, “Friday”, and “Saturday”. You can format these cells (bold, color, font) to make them stand out.
- Determine the Start Date: Choose the date you want your calendar to begin. Enter this date in a cell (e.g., A2). This cell will be the anchor for all other dates.
- Calculate Subsequent Dates: In cell A3, enter the formula
=A2+1. This formula adds one day to the date in A2. Drag this formula down the A column to create a series of consecutive dates. The number of rows you drag down will determine the number of weeks in your calendar. For a monthly calendar, 5-6 weeks should suffice. - Calculate the Dates for the rest of the week: In B2 enter the formula
=A2+1and drag across from B2 to G2. Finally drag from A3:G3 down the number of weeks you need. - Format the Dates: Select all the cells containing dates. Right-click and choose “Format Cells”. In the “Number” tab, select “Date” from the Category list. Choose a date format that displays only the day of the month (e.g., “1”, “01”). This keeps your calendar clean and focused. Consider using custom format if you prefer a specific visual style such as “d”.
Implementing Conditional Formatting for Weekends and Current Date
To enhance readability, use conditional formatting to highlight weekends and the current date.
- Highlight Weekends: Select all the cells containing dates. Go to “Conditional Formatting” in the “Home” tab, then choose “New Rule”.
- Use a Formula: Select “Use a formula to determine which cells to format”.
- Enter the Formula for Sundays: In the formula bar, enter
=WEEKDAY(A2)=1. Change A2 to the top-leftmost cell in your date range. Click “Format” and choose a background color to represent Sundays. Click “OK” twice to apply the rule. - Enter the Formula for Saturdays: Follow the same steps as above, but use the formula
=WEEKDAY(A2)=7. Choose a different background color for Saturdays. - Highlight the Current Date: Select all the cells containing dates. Go to “Conditional Formatting” and create a new rule using the formula
=A2=TODAY(). Again, adjust “A2” to match your top-leftmost cell. Choose a distinctive format to highlight the current date.
Adding Events
Now, let’s add events to the calendar. We’ll start with simple, one-time events and then move to recurring events.
- Create an Events Table: In a separate area of your spreadsheet (e.g., columns I and onward), create a table to store your events. This table should have columns for “Date”, “Event Description”, and “Recurrence” (None, Daily, Weekly, Monthly, Yearly).
- Enter Event Data: Fill the events table with your data. For one-time events, simply enter the date and description, and set “Recurrence” to “None”.
- Display Events on the Calendar: In the main calendar area, enter a formula that checks if there’s an event on that date in the events table. In cell A2 (the first date cell), enter the following formula:
=IFERROR(INDEX($J$2:$J$100,MATCH(A2,$I$2:$I$100,0)),""). - $I$2:$I$100: The range containing the dates in your event table.
- $J$2:$J$100: The range containing the event descriptions in your event table.
- A2: The date cell in your calendar.
- Copy the formula: Drag the formula across all the cells of your calendar to populate events.
- Adjust the formula based on week day: since the top row contains the names of the days of the week, the formula needs to begin on A3. Copy the formula in A3 to every date square in the calendar.
Implementing Recurring Events
The real power comes from handling recurring events. This requires more complex formulas.
- Modify the Display Formula: We need to modify the formula to consider the “Recurrence” column in the events table. The formula will become much longer:
=IF(ISERROR(MATCH(A3,IF($K$2:$K$100="None",$I$2:$I$100),0)),"",IF(ISERROR(MATCH(WEEKDAY(A3,2),IF($K$2:$K$100="Weekly",WEEKDAY($I$2:$I$100,2)),0)),"",INDEX($J$2:$J$100,MATCH(WEEKDAY(A3,2),IF($K$2:$K$100="Weekly",WEEKDAY($I$2:$I$100,2)),0))))- $I$2:$I$100: The range containing the dates in your event table.
- $J$2:$J$100: The range containing the event descriptions in your event table.
- $K$2:$K$100: The range containing the recurrence types.
- A3: The date cell in your calendar.
- Copy the formula: Copy this to every square of your calendar.
Explanation of the formula:
- The formula has two layers
IF(ISERROR(MATCH(A3,IF($K$2:$K$100="None",$I$2:$I$100),0)),"",IF(ISERROR(MATCH(WEEKDAY(A3,2),IF($K$2:$K$100="Weekly",WEEKDAY($I$2:$I$100,2)),0)),"",INDEX($J$2:$J$100,MATCH(WEEKDAY(A3,2),IF($K$2:$K$100="Weekly",WEEKDAY($I$2:$I$100,2)),0)))) - The first
IFdeals with the event being marked as “None”. TheIFstatement checks if theMATCHfunction returns an error when searching for the dateA3within the dates$I$2:$I$100, but it only searches the dates for which the recurrence type is “None”. - If the search fails, it means that the
MATCHfunction has located an event that is set for that day. - The other
IFfunctions similarly except it deals with if the event is marked as “Weekly”. It searches for a matching weekday.
Refining and Enhancing the Calendar
Here are some ways to make your calendar even better:
- Data Validation: Use data validation on the “Recurrence” column to limit the options to “None”, “Daily”, “Weekly”, “Monthly”, and “Yearly”. This prevents errors and inconsistencies.
- Event Duration: Add start and end times to your events and use Excel’s time formatting to display them.
- Prioritize Events: Include a “Priority” column in your events table and use conditional formatting to highlight high-priority events on the calendar.
- Create a Userform: For easier event entry, create a userform using VBA to input event data directly into the events table.
- Multiple Events: The current formula only shows one event per day. To show multiple, you would need more complex formulas or VBA. You could concatenate event descriptions with a separator (e.g., a line break) or create a popup window showing all events for a selected date.
By following these steps, you can create a robust and personalized calendar in Excel that effectively manages both one-time and recurring events. This calendar will help you stay organized and on top of your schedule.
“`
 375×561 monthly calendar recurring excel techwalla from www.techwalla.com
 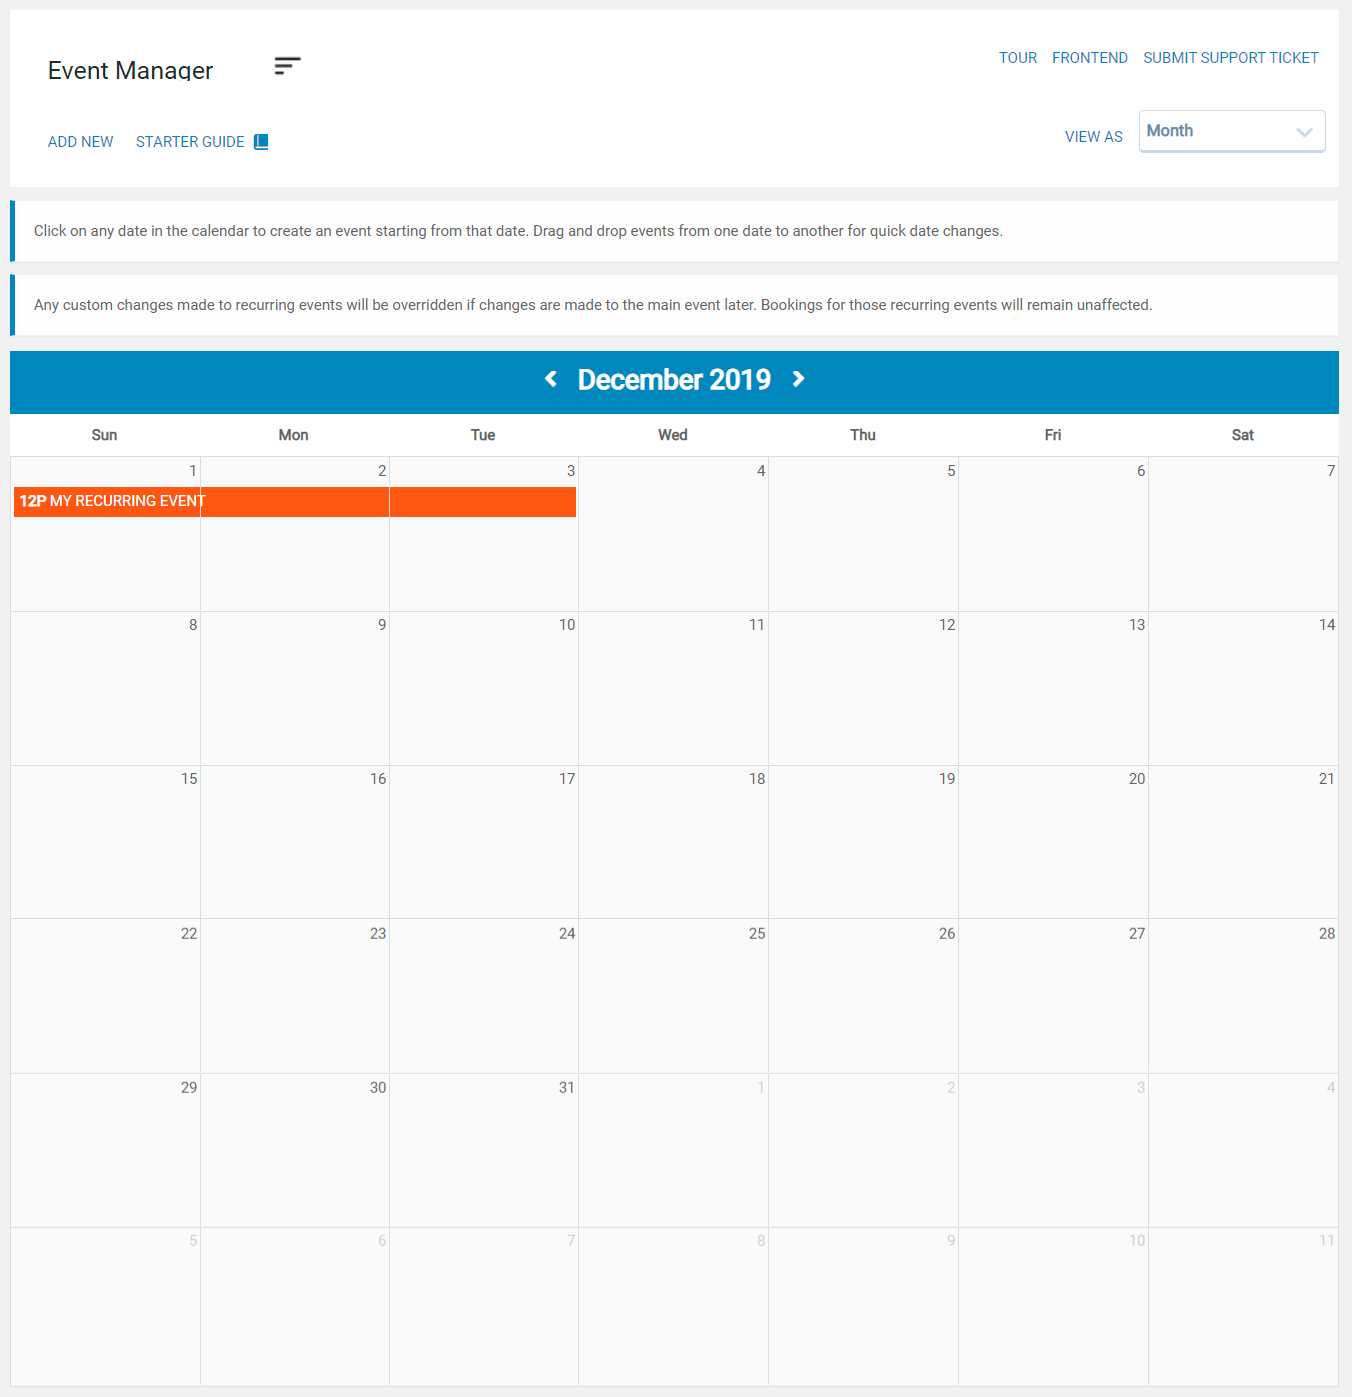 1352×1397 easy guide create wordpress recurring calendar from eventprime.net
  669×608 calendar setting recurring from cbk12sis-schoolspeak.groovehq.com
  1482×826 create custom recurring calendar from support.calendar.com
 How To Make A Calendar In Excel With Recurring Events was posted in June 21, 2025 at 5:02 pm. If you wanna have it as yours, please click the Pictures and you will go to click right mouse then Save Image As and Click Save and download the How To Make A Calendar In Excel With Recurring Events Picture.. Don’t forget to share this picture with others via Facebook, Twitter, Pinterest or other social medias! we do hope you'll get inspired by ExcelKayra... Thanks again! If you have any DMCA issues on this post, please contact us!